Wednesday, April 21, 2010
Hulkey Body Modeling Done!
Think I will call this done for now. Don't wanna go overly detailed too since Hulkey is supposed to be cartoony. Sculpted his arms, legs and torso to define the shape and form of the musculature of the body without adding too much details. Now rigging can start! :)
Sunday, April 18, 2010
Hulkey Body Modeling WIP 2
Defined the shoulders and back more now. Added in the actual head now plus the base mesh of the hands. Played around with the size of the head and I find that this looks best. What do you think?
Wednesday, April 14, 2010
Monday, April 12, 2010
Maya Python - smSoftIK plugin node
Finally had my first try at Maya Python API. Surprisingly (because I'm so used to the C++ way), implementing plugins using Maya Python API is really fast and easy. Took some time to get used to it, but really loving it now. :)
Demo of the softIK plugin node I created over the weekend:
- Reduce the "popping" of IK rigs when the joint chain straightens
- Ability to adjust and animate the soft limit
- AutoStretchiness already built into the plugin node, thus saving a bunch of multiplyDivide, plusMinusAverage or condition nodes in the rig
All thanks to the theory shared by Andy Nicholas!
http://www.xsi-blog.com/archives/109
Labels:
Maya API,
Maya Python,
Personal Projects,
Rigging
Saturday, April 10, 2010
Maya Python - Getting Points & Normals from MItGeometry all at once
From Adam Mechtley in Maya-Python mailing list:
Yes—it stores the result in the object you pass as a parameter, since it is passed by reference. As per my example:
meshIter0 = OpenMaya.MItGeometry(dag1)
points = OpenMaya.MPointArray()
meshIter0.allPositions(points, ObjectSpace)
# all the points are now stored in the points object
normals = OpenMaya.MVectorArray()
meshIter1.getNormals(normals, ObjectSpace)
# all the normals are now stored in the normals object
Tuesday, April 06, 2010
Hulkey Face Modeling Done!
Took a longer time than expected. After evaluating it further, I had to rework the face topology. Finally done with gums, teeth & hair as well. Gonna stick to this resolution for now to see how much deformation I can achieve before deciding to upRes it (which I'm guessing I probably will need to).
Just a note on my workflow. I am still planning to go with the joint-based facial setup, but first, I will be modeling all the defined shapes, and then match up the performance of the joint-based facial setup to achieve the modeled shapes. This is to emulate the actual production situation whereby all the facial setups of the character have to be "in-model", that is, approved and defined by the director (That is the reason why most production facial setups are still blendshape-based). To summarise:
- Joint-based facial setup to simulate "skin-sliding" effect of the controls
- Model actual blendshape targets to define the look and feel of the character
- Make use of the blendshape targets as additional corrective shapes of the facial setup
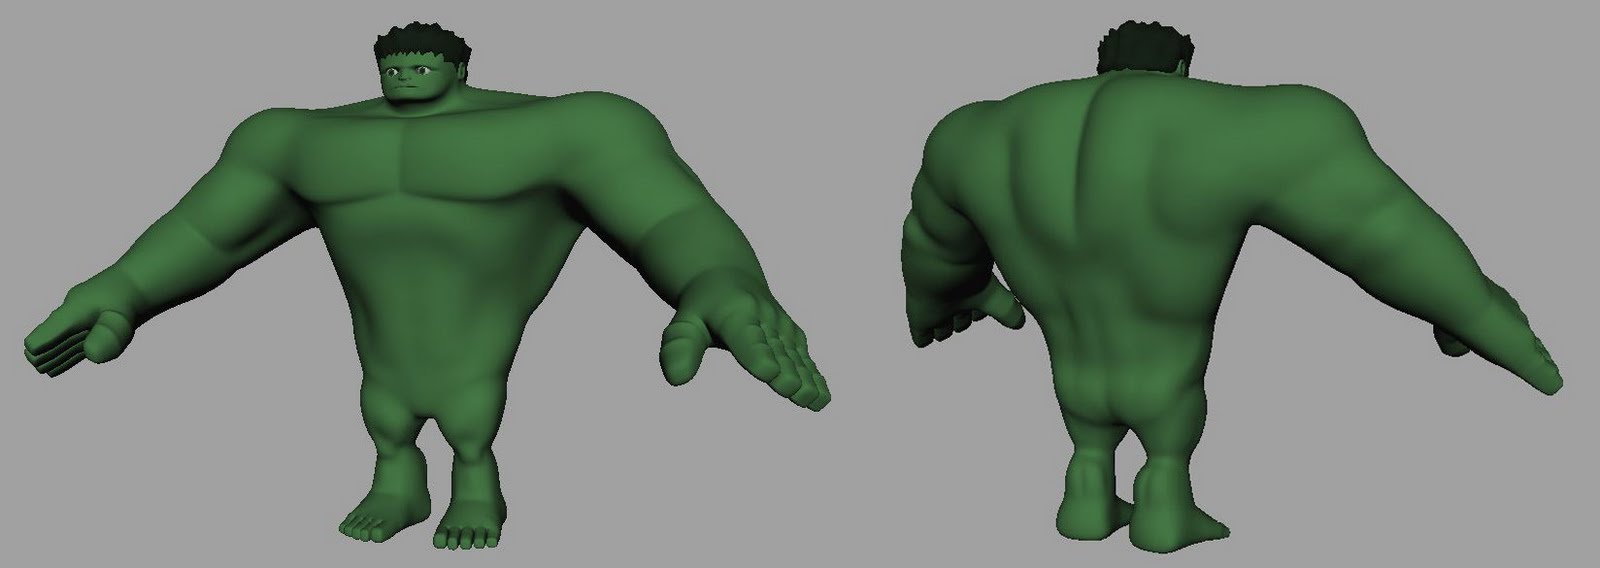
Next step: Rough blocking of the body. Just wanted to roughly define the shape of the shoulders and neck first to lock down my face geometry.
Subscribe to:
Posts (Atom)